Monday, July 27, 2015

Multitasking

There were a ton of projects to bang out and my mind was racing with ideas. When this happens I'm prone to rush jobs and make mistakes. I really had to limit my coffee intake and obey work lists like religion. 'Haste makes waste,' my mother reminded me as I was running around the garage like headless chicken.

Project 1: Cut new interior wood.


I hate plywood, so there was no way I was going to use it. I'd happily do the project two more time to avoid using the stuff. Real wood, CPES, and coats of epoxy sounds like a much better option for some reason that I would love to explain if you ever catch me at a party.

I decided to use local kiln dried Atlantic White Cedar for most of the wood in the boat. I love the wood, the smell, and its working quality.

Project 2: Crazing

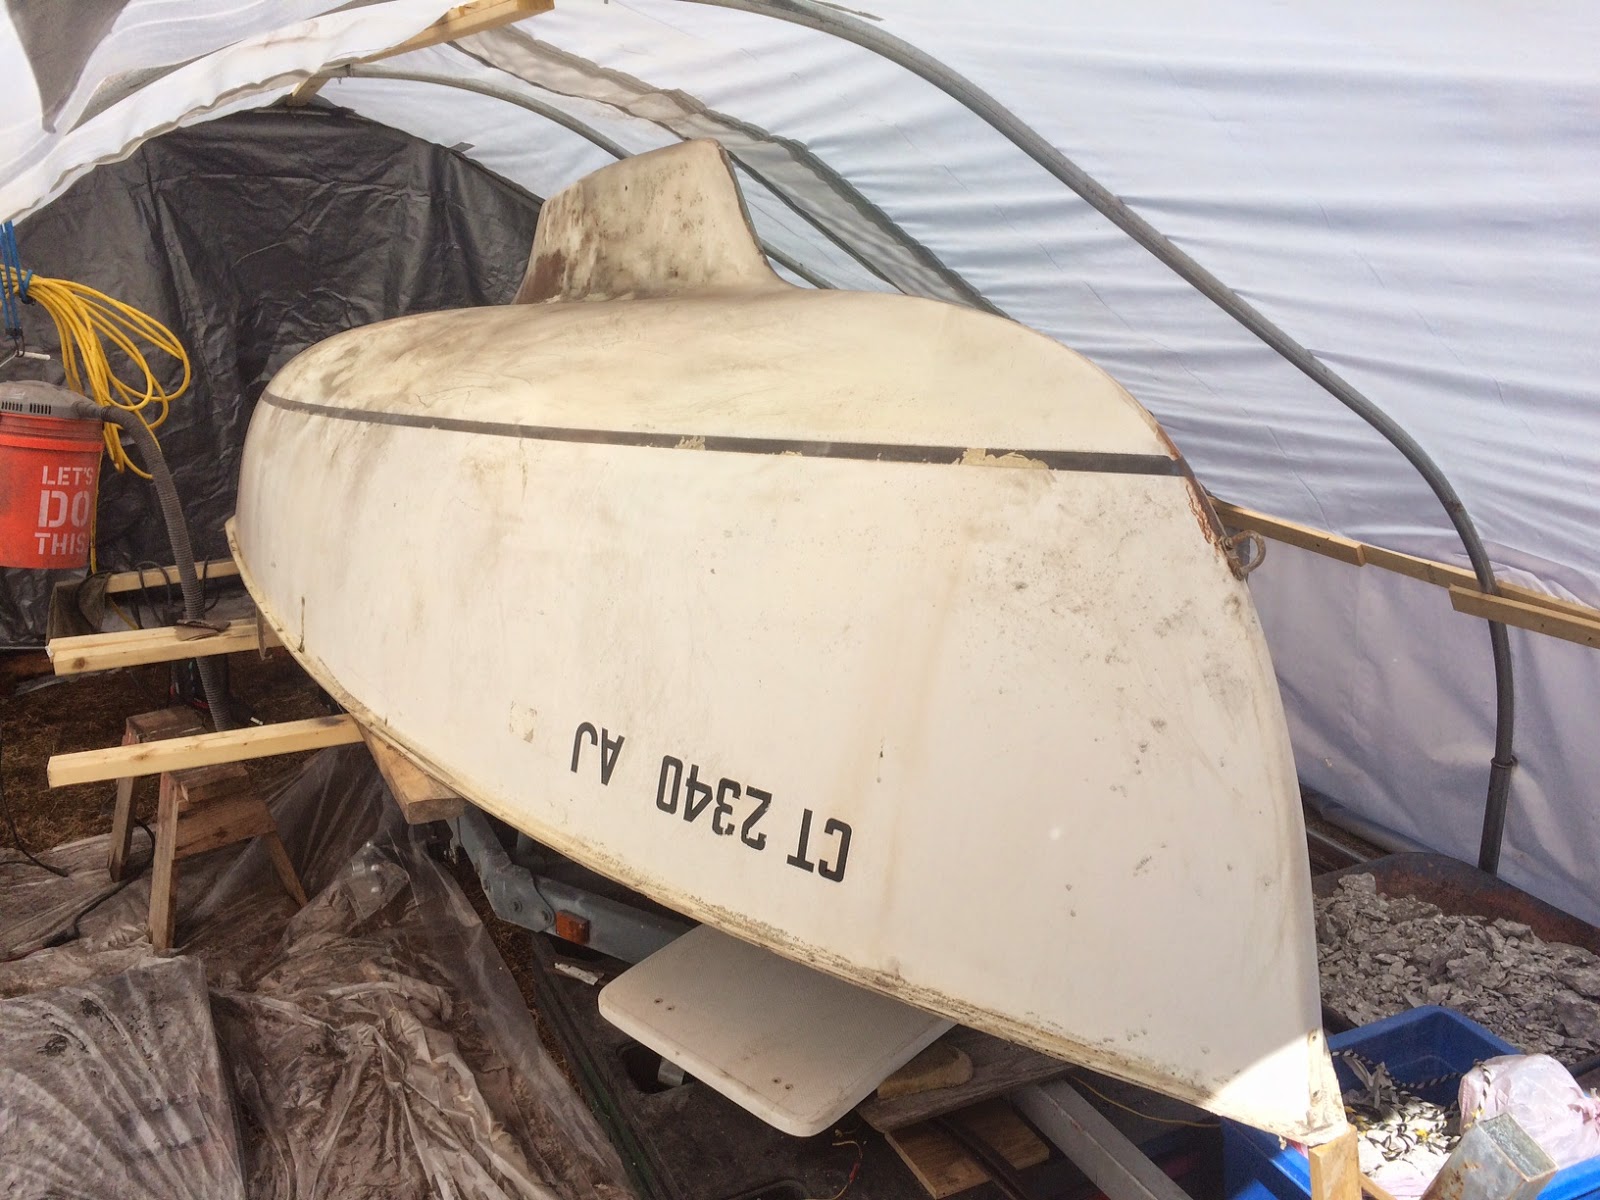
There were cracks, holes, dings, and crazing all over the deck so grinding, sanding, filling, and sanding needed to happen before I was going to paint.


Project 3: More trailer love

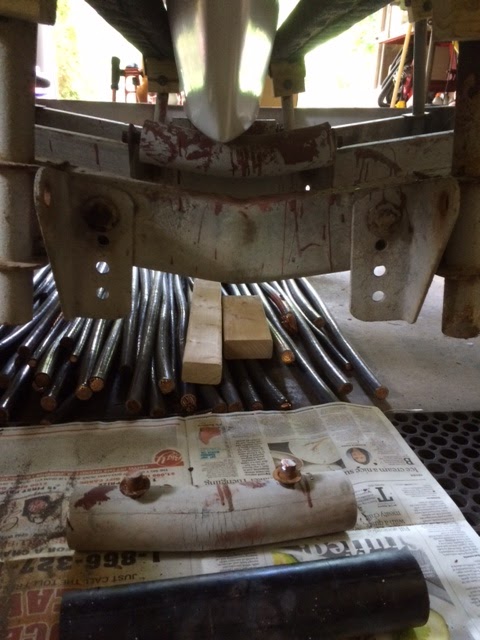
Now that the boat has all that lead in it, new rollers only made sense. Out with the old..


Monday, July 20, 2015

Ballast

It was time to decide what to do about the lead ballast situation. Part of me wanted to play it safe and conservative and go with 200 pounds of lead and 200 of cement. The other part of me wanted to throw caution to the wind and go a full 300 pounds of lead and 150 of cement.

I ultimately decided to take a risk a do the latter. Creating a stiffer and more stable boat had major appeal. Not having any CP 16 sailing experience didn't help me in making the decision. What did help me was knowing that I had a whole bunch of lead and a curiosity to see what lowering the center of buoyancy that much would do.


Three hundred pounds of lead is heavy! It took very few brain cells to decide that I should reinforce the keel area with more glass. I layered up a couple of sheets of heavy glass mat and epoxy. In the end I felt a lot more confident about dropping all of that lead in there.

Next was to figure out how to lay the lead in in a balanced way. After some reading and thinking I decided to favor the weight a bit forward. It was a good workout moving the stuff back and forth...like I said, lead is heavy.


I finally decided, pulled the trigger, and poured the cement...no going back now!!!


It's really great coming from a place of projects. My dad is a big tinkerer and always has a few project irons in the fire. Currently he is building a little barn in our backyard and lucky for me he was pouring concrete into Sonotubes and had all the equipment out that I needed. Nice.


Monday, June 1, 2015

Attention to the Deck

The paint job came out great for a roll and tip job. The black boot-stripe, I have to admit, does set off the dark red Epifanes paint.

After over two months in the garage the hull was in need of some sunlight and fresh air.


Shifting gears I now need to pay some attention to the deck.

After removing the rubrail months and months ago I had discovered much of the glass behind the rail delaminating. I would image that this was due to being saturated year-round and freezing and thawing over many winters.

I spent a few hours cleaning, dewaxing, sanding, and prepping the edges of the deck for re-glassing.


I attacked the problem in a few ways depending on where the injury was. In some paces I just taped the cracks and injected thickened epoxy. In other areas I did the same and in addition clamped the delaminating materials. Where the problem was only minor, I simply injected or pushed the epoxy in using a mixing stick.


Monday, May 4, 2015

Boot-Stripe

Everyone loves boot-stripes. I rather have skipped it and had this job finished, but if I do ever sell the boat I just really never want to have a conversion that starts with, "So, where's the boot-stripe?"


Tuesday, April 28, 2015

TCBing

The countdown has started. With only 8 weeks of school left and warmer weather on its way, it's time to get busy. I still have a huge list of projects, and some major ones at that: reballasting the boat, building the quarter berths and bulkheads, and gluing the hull and deck back together... I might be sailing by next year.

Over spring break I was able to get a bunch of projects finished and now I'm back to weekends. This is obviously not idea given that I am a 3-5 hour drive to my boat.

Enough complaining back to the project:

I pulled the deck out and tossed her into the snow.

She looked very sad just sitting there, but I needed to clear out some space so I could access all sides of the hull.

My plan was to sand off the the layers of bottom paint applied by the previous owners.

Deciding what to use for bottom paint was no easy decision. I read and read and contemplated the merits of all the product out there.

The facts came down to: 1. I care about the environment (I am a biology teacher after all), 2. this is a trailerable sailboat, and 3. I don't mind jumping into the water and scrubbing the bottom.


At the beginning.


Too many hours latter - time to switch projects.

The motor mount has been rebuilt so now it needs a mounting block for the motor. I looked around the woodshop and found an old rough chunk of oak... good enough.


Ok, enough of that, back to business.


Many, many dusty hours later.

Back to the motor mount project.


Time to start prepping and painting. This is the second sailboat that I have stripped down and painted. Last time I used materials and paints that yielded results that were not so great. This time I decided to spend a little more time doing my homework and choose paints that come highly recommended.

I bought all of my products from Jamestown Distributors. I have been dealing with them for about 3 years and they have never let me down. They have some super enthusiastic staff who are happy to problem solve and trouble shoot for an hour on the phone if you want to... where on earth does costumer service like that still exist??

Here is my order: for topside deck I am going to use Jamestown's house brand 'Wet Edge' white paint, for my freeboard Epifanes Mono-urethane Yacht Paint, non-skid will be KiwiGrip, and I decided to go with VC Performance Epoxy for bottom paint for the aforementioned reasons.

I am going to apply the paint using the ol' rolling and tipping method with a wet-sand in between coats.

I'll let the pictures do the talking:


Sunday, March 22, 2015

Motor Mount / Indoor Projects


Next task on the list was my attempt to salvage the old motor mount. The old spacers as well as the aluminum hardware were corroded beyond repair.

These two pictures are showing the state of the mount when I purchased the boat. I knew that I was going to have to fix or replace the mount. After doing some research I quickly decided that fixing the old mount was the right/ cheapest option.

I was shocked to find that mounts could go for over 200 bucks. And any mount that was less, looked like junk.

I purchased all new SS hardware to replace the old aluminum bolts and spacers. I know, I know - steel and AL don't play well together, but I promise to keep an eye on hardware and Triflow will keep the two metals happily living together without getting TOO close.


It took about 50 dollars in hardware. Always a shock that a pile of bolts can add up to so much.


The trickiest part was making spacers to replace the old busted up AL ones.  I ended up making them out of nylon spacers that I had to cut down, sand, and bore to fit properly.

The finished product is not so pretty BUT...


It goes up!


And it goes down!!

I can't really complain. I am going to complain about that old rotten sticky plastic top-cap.
I had some apple wood from a tree that I pruned last year, so I thought that I'd make a little wood handle cap.


Left is to stain the cap and of course build the plate for the motor to be mounted onto.

It was a long day and freezing outside, so instead of venturing out I thought that I would continue the indoor projects...this meant making some food and doing some glassing research to start the process of thinking about upgrading the rudder.

First pizza!


Next boil down some of last summers frozen strawberries and pull the warm yogurt out of their slow-cooker / incubator. Of course this project was actually started 8 hours before... right before dealing with the motor mount dilemma.


Now that I had a meal and a healthy dessert in me it was time for a little experimenting.
I have seen other Com-Pac owners foil their rudders. It really sounds like this is undoubtedly an improvement to the sailing qualities of the CP 16.

I love the excitement of sailing close to the wind, so I have got to pursue any path that can allow this boat to point higher. Following some methods that I have seen online and how people have created foiled CP rudders I thought that I would do some materials testing and build a little surfboard.


The insulation board that I used was almost impossible to shape with any blade that I owned. I found, after some choice words were expelled, that making rough cuts with a blade and sanding to a finer shape was the way to go shaping this material.

My sturdy little board came out ok. It had very little flex when put under great pressure. With a few more layers of glass I would expect this combination to be bombproof.

This project is leading me to want to continue testing the marriage of these two materials.